Welcome to intarsys
Signature creation

Sign Live! CC client single

Sign Live! CC client single

The workplace-based solution for
Signature creation and signature verification

The workplace-based solution for
Signature creation and signature verification

sign

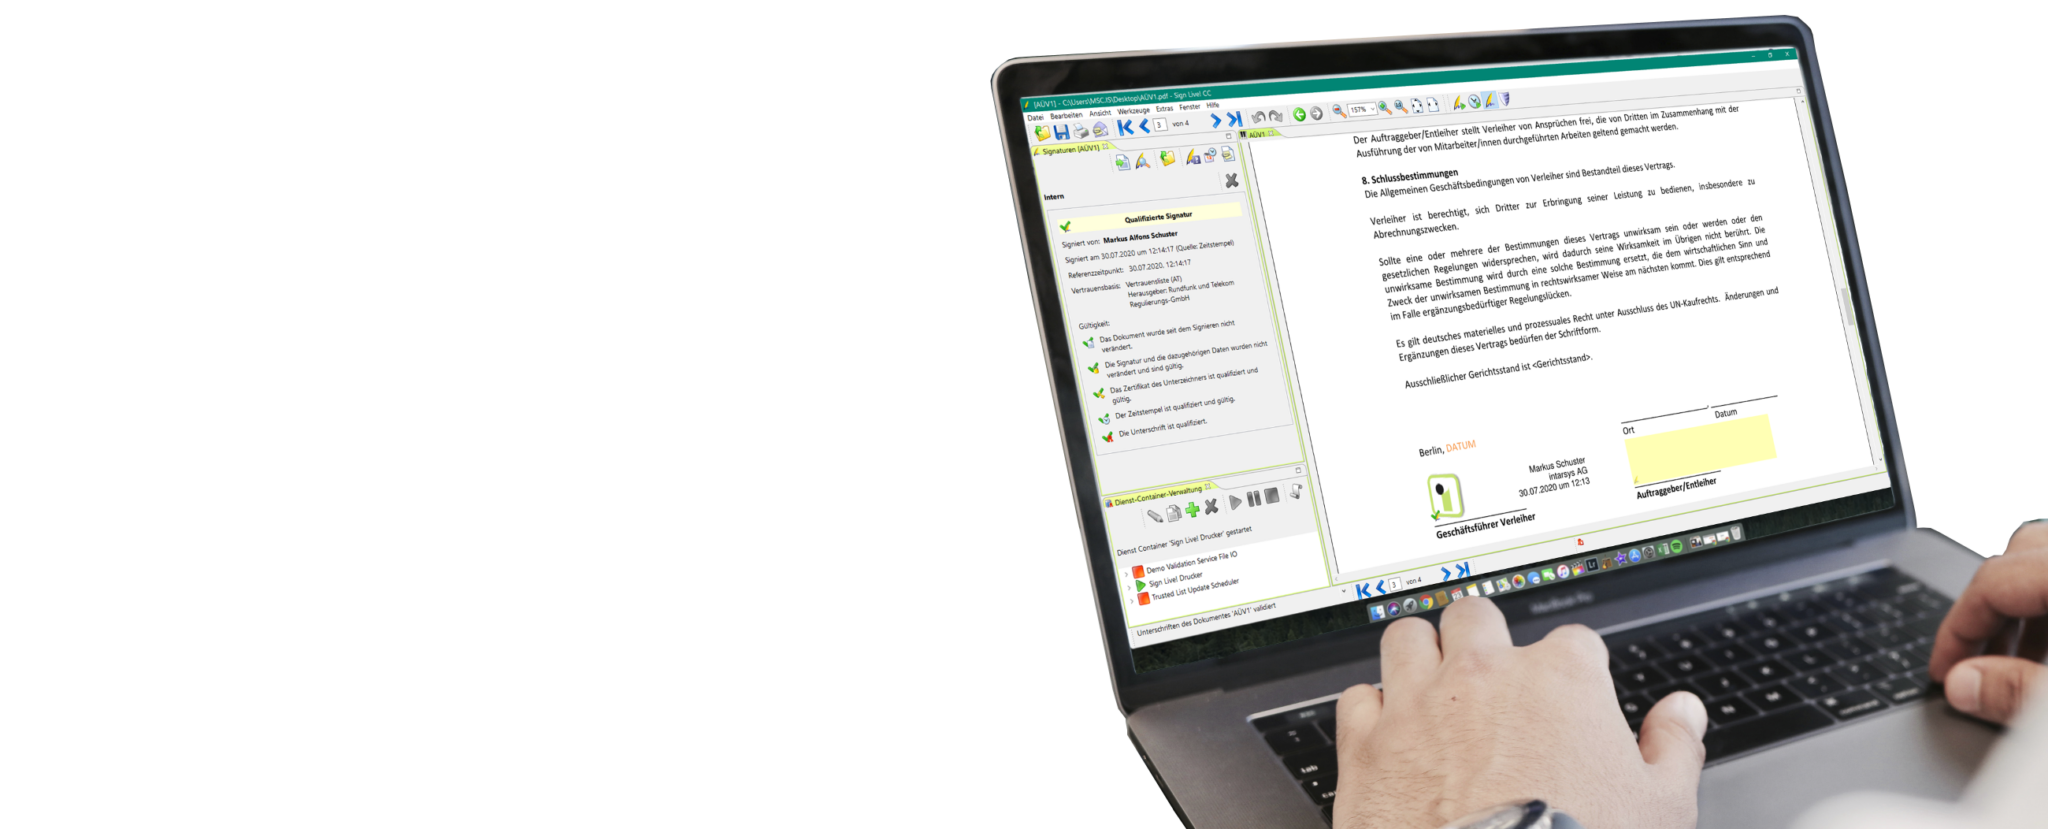
Create and verify digital signatures – directly at the workplace

with Sign Live! CC signature client single​

Creation of signature, seal and time stamp
Cryptographic Providers
Validation of signature, seal and timestamp
Services and Miscellaneous

Create and verify digital signatures – directly at the workplace

with Sign Live! CC signature client single​

Creation of signature, seal and time stamp
Cryptographic Providers
Validation of signature, seal and timestamp
Services and Miscellaneous

Or would you rather sign many documents at the same time?

You would like to sign 25, 50, 100 or up to 1000 documents at the same time and at the same time only enter the PIN once?

Product as batch processing

for up to 25, 50, 100 or 1000 signatures with a PIN entry and checks

Then the following product is the right solution:

Go to Sign Live! CC client batch

Product as comfort processing

for up to 25 or 40 signatures with one PIN entry

Then the following product is the right solution:

Go to Sign Live! CC client comfort

It works that easy:

Application examples​

Sign Live! CC the right solution for every industry

Accountants and tax advisers

administration and judiciary

HR management and employment contracts

Sign Live! CC client

The workplace-based solution for signature creation and signature verification

Learn more about Sign Live! client

FAQs about the Sign Live! CC signature client

The new BNotK card will be in Sign Live! CC supported from version 7.1.11

In future, the Federal Chamber of Notaries will provide its signature certificates via the remote signature service and no longer via a personal signature card.
The authentication for signature creation at the remote signature service is carried out using a personal smart card.

This requires a completely new procedure for signature creation. This signature is not triggered via the signature device "signIT smartcard CC", but via "signIT BNotK". When signing in the signature assistant, please select the appropriate signature device. If your signature certificate is not available, please contact the support of the Federal Chamber of Notaries.

If you are using a Reiner SCT card reader with an RFID function, you must switch off the RFID function so that there are no problems reading the authentication certificate on your card.

If you Sign Live! CC from a specialist application, please inquire with the manufacturer whether the new signature device has been connected.  

The presentation of the signature can be designed individually. The procedure is in the tutorial "Design signature field display" described which you here available for download. 
It is important to ensure that the last variable in the Appearance window contains a value. A newline as the last variable would lead to an error message (internal cryptographic library error).

For the qualified electronic signature you need in addition to the Software additionally a Signature card and a Card reader.
You can obtain signature cards from trust service providers (VDA). The of Sign Live! CC Supported signature cards and card readers can be found in our service description and system requirements.

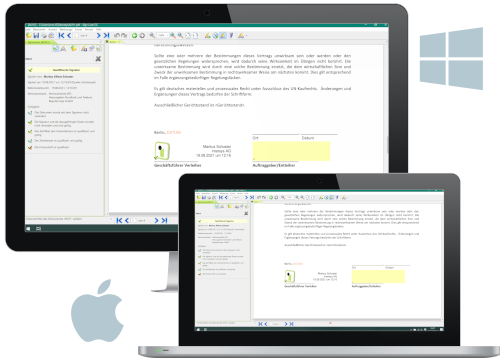
Purchase the signature application software here Sign Live! CC for different operating systems.

It should be possible to check whether a signature is valid, i.e. valid, even after many years. In order to be able to check a signature again, several pieces of information must be available:

  • Was the end user certificate used valid at the time it was used?
  • Was the issuing CA (Certificate Authority) of this certificate trustworthy at the time the end user certificate was created and was the root certificate valid?
  • What was the quality level of the certificate used? Basic, advanced or qualified?

To confidently answer these questions, a validation application such as Sign Live! several exams. An important aspect of this check are revocation checks using OCSP (Online Certificate Status Protocol), ie queries to the trust service provider (VDA) that issued the end user certificate used. In order for these OCSP queries to be carried out, this service must be made available online by the VDA (directory service). The replies from the VDA are in turn signed by the latter so that the trustworthiness can be checked and thus ensured. This is then done in turn with the inclusion of OCSP queries. International standards (ETSI) regulate how this is to be done in full. At the end of these queries, the validation application can then provide a trustworthy status of the end user certificate used.

But what if the necessary directory service is temporarily or permanently unavailable? A temporary disruption can occur if the required directory service is simply not available online. Or what if this was switched off by the VDA being discontinued? The central deletion of information after the retention periods have expired also represents a cut. The end user certificate used cannot be checked in such cases and therefore the complete signature check does not lead to a clear result.

LTV signatures are different. With this type of signature, all required information is embedded in the signature, again according to international standards (ETSI). In the case of PDF documents and signatures, this is technically regulated, for example, by the PAdES standard (ETSI EN 319 142) in the context of the PAdES-B-LT profile.

The necessary information can be embedded both when the signature is created and later during validation. However, it is rare for this to happen when the signature is created, since the time required to create the signature also includes the time required for verification. The enrichment of the LTV signature for validation before archiving is therefore a good idea. From this point on, the signature is always checked offline and takes place without access to the directory service. A check is therefore independent of the availability of this service, regardless of the reason why it is not available.

Does the LTV signature do even more?

How the validity of certificates is checked is based on different models (chain, shell or modified shell model). These different models also make sense for the different uses of certificates. The validity of an SSL certificate should be checked differently in the browser than a certificate that was used to sign documents that have to be verifiable for decades.

Let's take Adobe Reader as an example. Adobe Reader will no longer classify a signature as trustworthy after the end user certificate used has expired, even if the signature was made during the validity period.

This behavior can be avoided by the LTV signature if the LTV signature is done before the expiration date. With the timely LTV signature, the Adobe Reader tick stays green and the signature continues to be positively checked - permanently. This is an important step on the way to greater user acceptance of the signature. 

How to create an LTV signature with Sign Live! CC generated?

Are intarsys products affected by the security vulnerability?

The BSI has the following security warning published.
The actual problem is explained in a PDF, which is continuously updated on the BSI website.
 

intarsys products are not affected by the security problem!

You can find the following intarsys products in the supported versions continue to operate without changes:

  • Sign Live! CC
  • Sign Live! CC DATEV edition
  • Sign Live! CC SPARKASSEN edition
  • Sign Live! cloud suite bridge
  • Sign Live! cloud suite gears
  • Sign Live! cloud suite SDK

The Java library that is causing the problem is in these products not .

This also applies to the Archisoft product from FHI-SIT in versions 1.1.1.8 and 1.1.1.9, which is sold by intarsys.

Product-specific explanations

  • In Sign Live! cloud suite gears Third-party products used up to version 8.7 are based on the critical Log4j version 2.14, but in the context of gears the dangerous library log4j-core- *. jar neither delivered nor used. There is therefore no potential risk.
  • With Sign Live! CC delivered Exampleimplementations (SDK / JMS) use Log4j version 1.x. These are only activated by calling the command line on the system and are also required a special Log4j configuration. They are therefore not considered to be a potential hazard.

Further safety information on the required basic components

tom cat 9 does not use Log4j in its basic configuration without standard and other web apps.

General safety information on the required basic components

Use the JVM in the required version (Java 11, SLcs gears: Java 8) at the most current patch level possible.
The Sign Live! CC / PDF / A Live! integrated JVM fulfills this (Java 11).
For Sign Live! cloud suite gears should be at least Azul JDK 8u312 + .

Further background information

If you use software from Baqué & Lauter GmbH as a bailiff and with Sign Live! CC want to sign must in Sign Live! CC a certain "Service" to be set up.

If during the installation of the bailiff software the software Sign Live! CC was already installed, this service should have been set up automatically. Otherwise, this can also be done manually. You will find the corresponding instructions here.

When opening very large files, the Sign Live! CC The available memory is not sufficient (error message: ... "Java heap space"). The log provides information about the maximum memory Java requests from the operating system. Eg:


[2019.11.20-09:29:57.818][I][d.i.tools.logging][executor singleton][] maxmemory=477626368

First, check that the operating system can actually provide that much memory for Java. Operating system and other applications also require memory!
If enough memory is available, please gradually increase the memory claimed by Java.

So put in Sign Live! CC more memory available:

  • Copy the fileINSTALLATION DIRECTORY> \ demo \ vmoptions \ more memory \* .vmoptions1 after \bin.
  • Starten Sie Sign Live! CC New.
  • If the main memory is not sufficient, the value in the vmoptions file can be edited with an editor and the value can be increased to -Xmx2048m, for example. The maximum value depends on how much RAM is available on your computer.

Important note:

  • For operation as a Windows service, the signivecc_service.exe file must also be created with identical content.

1) The name of the vmoptions file depends on the operating system used.

Sign Live! CC starts with the language settings of the operating system.

To get the operating language of Sign Live! CC you need administrator rights to manipulate them.
Follow these steps:

  1. Quit Sign Live! CC.
  2. Use Windows Explorer to switch to the installation directory for Sign Live! CC. In most cases this is "C:\Program Files\Sign Live CC " or "C:\Program Files (x86)\Sign Live CC".
  3. Navigate further into the subdirectory "demo\vmoptions\language english".
  4. Copy the SignLiveCC.exe.vmoptions file from this directory.
  5. Change to the “bin” subdirectory of the installation directory Sign Live! CC and drop the SignLiveCC.exe.vmoptions file there.
  6. Starten Sie Sign Live! CC new so that the language settings are loaded.

By doing this, the entire user interface of Sign Live! CC presented in English.

To reset to German, delete the "SignLiveCC.exe.vmoptions" file from the bin directory and start it Sign Live! CC New.

To install the software on an Apple MacOS system:

  1. Download the file with the extension ".dmg".
  2. If you have already installed the same version or a previous version of the application: Quit the application, if it is started.
  3. After double-clicking on the DMG file (the disk image), a virtual drive appears in the finder.
  4. Drag the application icon into the application directory.
  5. Check your installation.
  6. Start the installed application.

To install a patch to an existing version:

  1. Download the file with the extension ".dmg".
  2. Please make sure that the application "Sign Live! CC” was started and stopped before installing the patch or exit the application if it was started.
  3. After double-clicking on the disk image, the appears Sign Live! CC patcher app.
  4. Run Sign Live! CC Double-click Patcher App.
  5. Check the version number displayed and confirm that you want to apply the patch.
  6. Choose the appropriate installation directory from Sign Live! CC and start the installation.
  7. After installing the patch, a success message appears.
  8. Check your installation.
  9. Start the installed application.

For step-by-step instructions on downloading the software, installation and product activation, visit our Tutorials.

Stay up to date with our newsletter!

And get all the information about:

Products

Services

Events

Promotions

XIMA and procilon GROUP enter into a partnership Taucha, Dresden April 04.04.2023th, XNUMX – FORMCYCLE is a low-code application from the Dresden-based XIMA MEDIA GmbH, the administrations at